Instant Pot Soy Yogurt
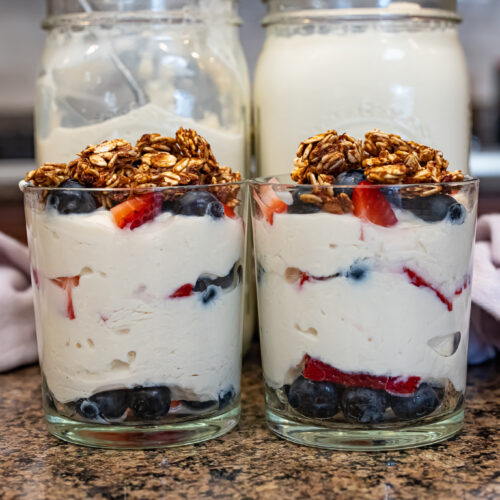
Instant Pot Soy Yogurt is a healthy, thick, and delicious vegan yogurt you can make with only 2 ingredients. This yogurt is so much better than store bought, has no fillers or preservatives, is sugar-free, and will save you money! Enjoy this yogurt in sweet or savory dishes and at any meal of the day!
Equipment
- 1 Instant Pot One with the Yogurt button/setting is ideal, but the Keep Warm function may also work.
- 1 32-Ounce Mason Jar I use one 32-ounce mason jar per batch of homemade soy yogurt. A combination of smaller jars may be used, such as two 16-ounce mason jars.
- 1 Wide Mouth Jar Lid Use the appropriate lid for your jar for shaking and storing (NOT in the pressure cooker; leave the lid off). I've linked the lids I use.
Ingredients
- 32 ounces Unsweetened Organic Soy Milk, please see the notes section below for the best brands to use
- 1 Vegan Probiotic Capsule, you can use a vegan yogurt starter product, but I've had inconsistent results with those
Instructions
- Note: This recipe is specifically written for the Instant Pot brand electric pressure cookers that come with a Yogurt setting. If you have another brand of pressure cooker that indicates it has a yogurt function, follow those instructions regarding what buttons to press, sealing the pressure valve, etc.
- Timing: I like to start my Instant Pot soy yogurt in the morning so it will be done by bedtime. Then I store it in the refrigerator and it's cold by morning. I don't cook the homemade soy yogurt overnight because then the yogurt would be warm when I needed it since I eat it for breakfast. If you're making it well in advance of when you'll need it, you should be good to make it overnight if you prefer.
- Prep the soy milk: Take your unopened package of soy milk and shake it for 10-20 seconds before opening it. Pour most of it into the jar until you've reached the very bottom ridge near the top of the jar. This should be about an inch from the top of the jar. I do not fill my jars to the top because every time I've tried the yogurt has not turned out. You will have a bit of soy milk leftover. You can drink that or store it in the fridge to use later in a cooking recipe, a matcha or coffee drink (soy milk froths well!), or a smoothie such as my green smoothie.
- If using multiple smaller jars: If you're using a few smaller jars, please follow these instructions. Pour the soy milk (about 28 ounces of it) into a 4-cup glass measuring cup or, even better, and 8-cup glass measuring bowl with a spout (any bowl will work but it's much easier in a vessel that has a spout. Empty the contents of the probiotic capsule into the soy milk and whisk the powder into the soy milk until well combined, about 30-60 seconds. Pour the contents into each of your jars, leaving about an inch of free space at the top of each jar. Proceed to step 6.
- Add the probiotic: Over the jar of soy milk, carefully open the probiotic capsule and empty the contents into the jar of soy milk. Place the lid on tight and use both hands to shake it well for 30-60 seconds. Remove the lid before proceeding to the next step.
- Prep the Instant Pot: Add the jar(s) to the Instant Pot without lids. Try to place them in the center of the Instant Pot, but don't worry if you have multiple jars and they don't all look level. Place on the lid and tighten it. Set the pressure valve to 'sealing' and press the 'yogurt' button. Press the '+' button until you get to the desired amount of warming time. I have experimented a lot and found 11 hours and 30 minutes to be the sweet spot for us, but you might need to experiment a little too and find your perfect amount of time.
- Store: When the timer is up, promptly remove the homemade soy yogurt from the Instant Pot (do not allow it to sit overnight after it's reached it's programmed time, as that may encourage bad bacterial growth). Switch the pressure valve to 'venting' and carefully remove the lid (for me, there's never been pressure buildup, but just be abundantly cautious whenever using a tool like this!). Remove the jars of homemade soy yogurt, add the lids, and place in the refrigerator for up to 5 days. Note that if they are still liquid, they will not thicken in the fridge and they need more "cook" time. See the troubleshooting step below.
- Troubleshooting: If the timer goes off and your Instant Pot soy yogurt is still liquid, set the timer for another hour. It should be good after that. If it is still not working, you may have a dead probiotic capsule. Try again with another capsule or a new bottle/package.
Video
Notes
- Plain Unsweetened Soy Milk: You want the kind that comes in a shelf-stable tetrapak (32 ounces), not the kind in the refrigerated milk section of the grocery store. Those carton non-dairy milks have all kinds of ingredients we don't want to add, and I'm not sure they'd even work! I use only soy milk that contains just 2 ingredients: non-GMO organic soybeans and water. I personally have only tried and tested the brand Edensoy, but I've heard that Westsoy and Trader Joe's brand (the one that's called soy beverage with just soybeans and water) work as well.
- Where to buy the soy milk: I buy my Edensoy from Vitacost in a 12 pack. this is the cheapest place I've found, and the soy milks always arrive in perfect condition. I have them on autoship to save a little extra, too. You can also buy the soy milk from Amazon, Edensoy's website, and some health food stores.
- Vegan Probiotic Capsule: While you absolutely can find vegan yogurt starter, I prefer using a vegan probiotic capsule as I think it yields better results. For a month or two, I experimented with vegan yogurt starter, but my results were somewhat lumpy and very inconsistent. Often the soy yogurt didn't turn out at all. I've been using one brand of vegan probiotic capsules for 4-5 months with much better luck.
- More Tips in the Article: If you still have questions, check out the article above as it has more tips and tricks! The Expert Tips section might be of particular interest to you.
Nutrition
Serving: 0.5cupCalories: 72kcalCarbohydrates: 2.7gProtein: 7gFat: 3.5gSodium: 5.8mg
Tried this recipe?Let us know how it was!